-
Trello card 데이터를 기반으로 netlify 배포해보기UI,UX,접근성,기본개념 등 2021. 4. 4. 14:04
오늘은 Trello 데이터를 통해 멋진 CMS와 같은 사이트를 만들어보도록 하겠습니다.
전체적인 시나리오는 트렐로에서 칸반 보드를 만들고 해당 내용에 라벨링을 'stage' 또는 'live'를 붙이게 되면 네틀리파이 hook을 통해 자동으로 사이트에 패치되게되는 시나리오입니다.
추가적으로 깃헙도 연결하여 깃헙에 커밋하면 그 내용 또한 자동으로 네틀리파이(netlify)에 반영됩니다.
netlify 계정 만들기
Netlify: Develop & deploy the best web experiences in record time
A powerful serverless platform with an intuitive git-based workflow. Automated deployments, shareable previews, and much more. Get started for free!
www.netlify.com
해당 사이트에 접속해서 계정을 만듭니다.
깃헙에 바로 연결해주시면 간편합니다.
Trello 보드 만든 다음 카드를 생성하고 live 또는 stage 라벨 붙여주기

저는 트렐로 무료 템플릿을 통해서 보드를 만들었습니다.
그리고 각각 라벨을 stage와 live를 임의로 붙여줬어요. 나중에 json 데이터 가져올 때 필터링을 하기 위해서이죠.
디스크립션도 적절히 작성하여 json 데이터를 활용할 수 있도록 합니다.
이미지도 한번 추가해보세요!
Trello의 json 데이터를 확인하고 가져올 준비하기
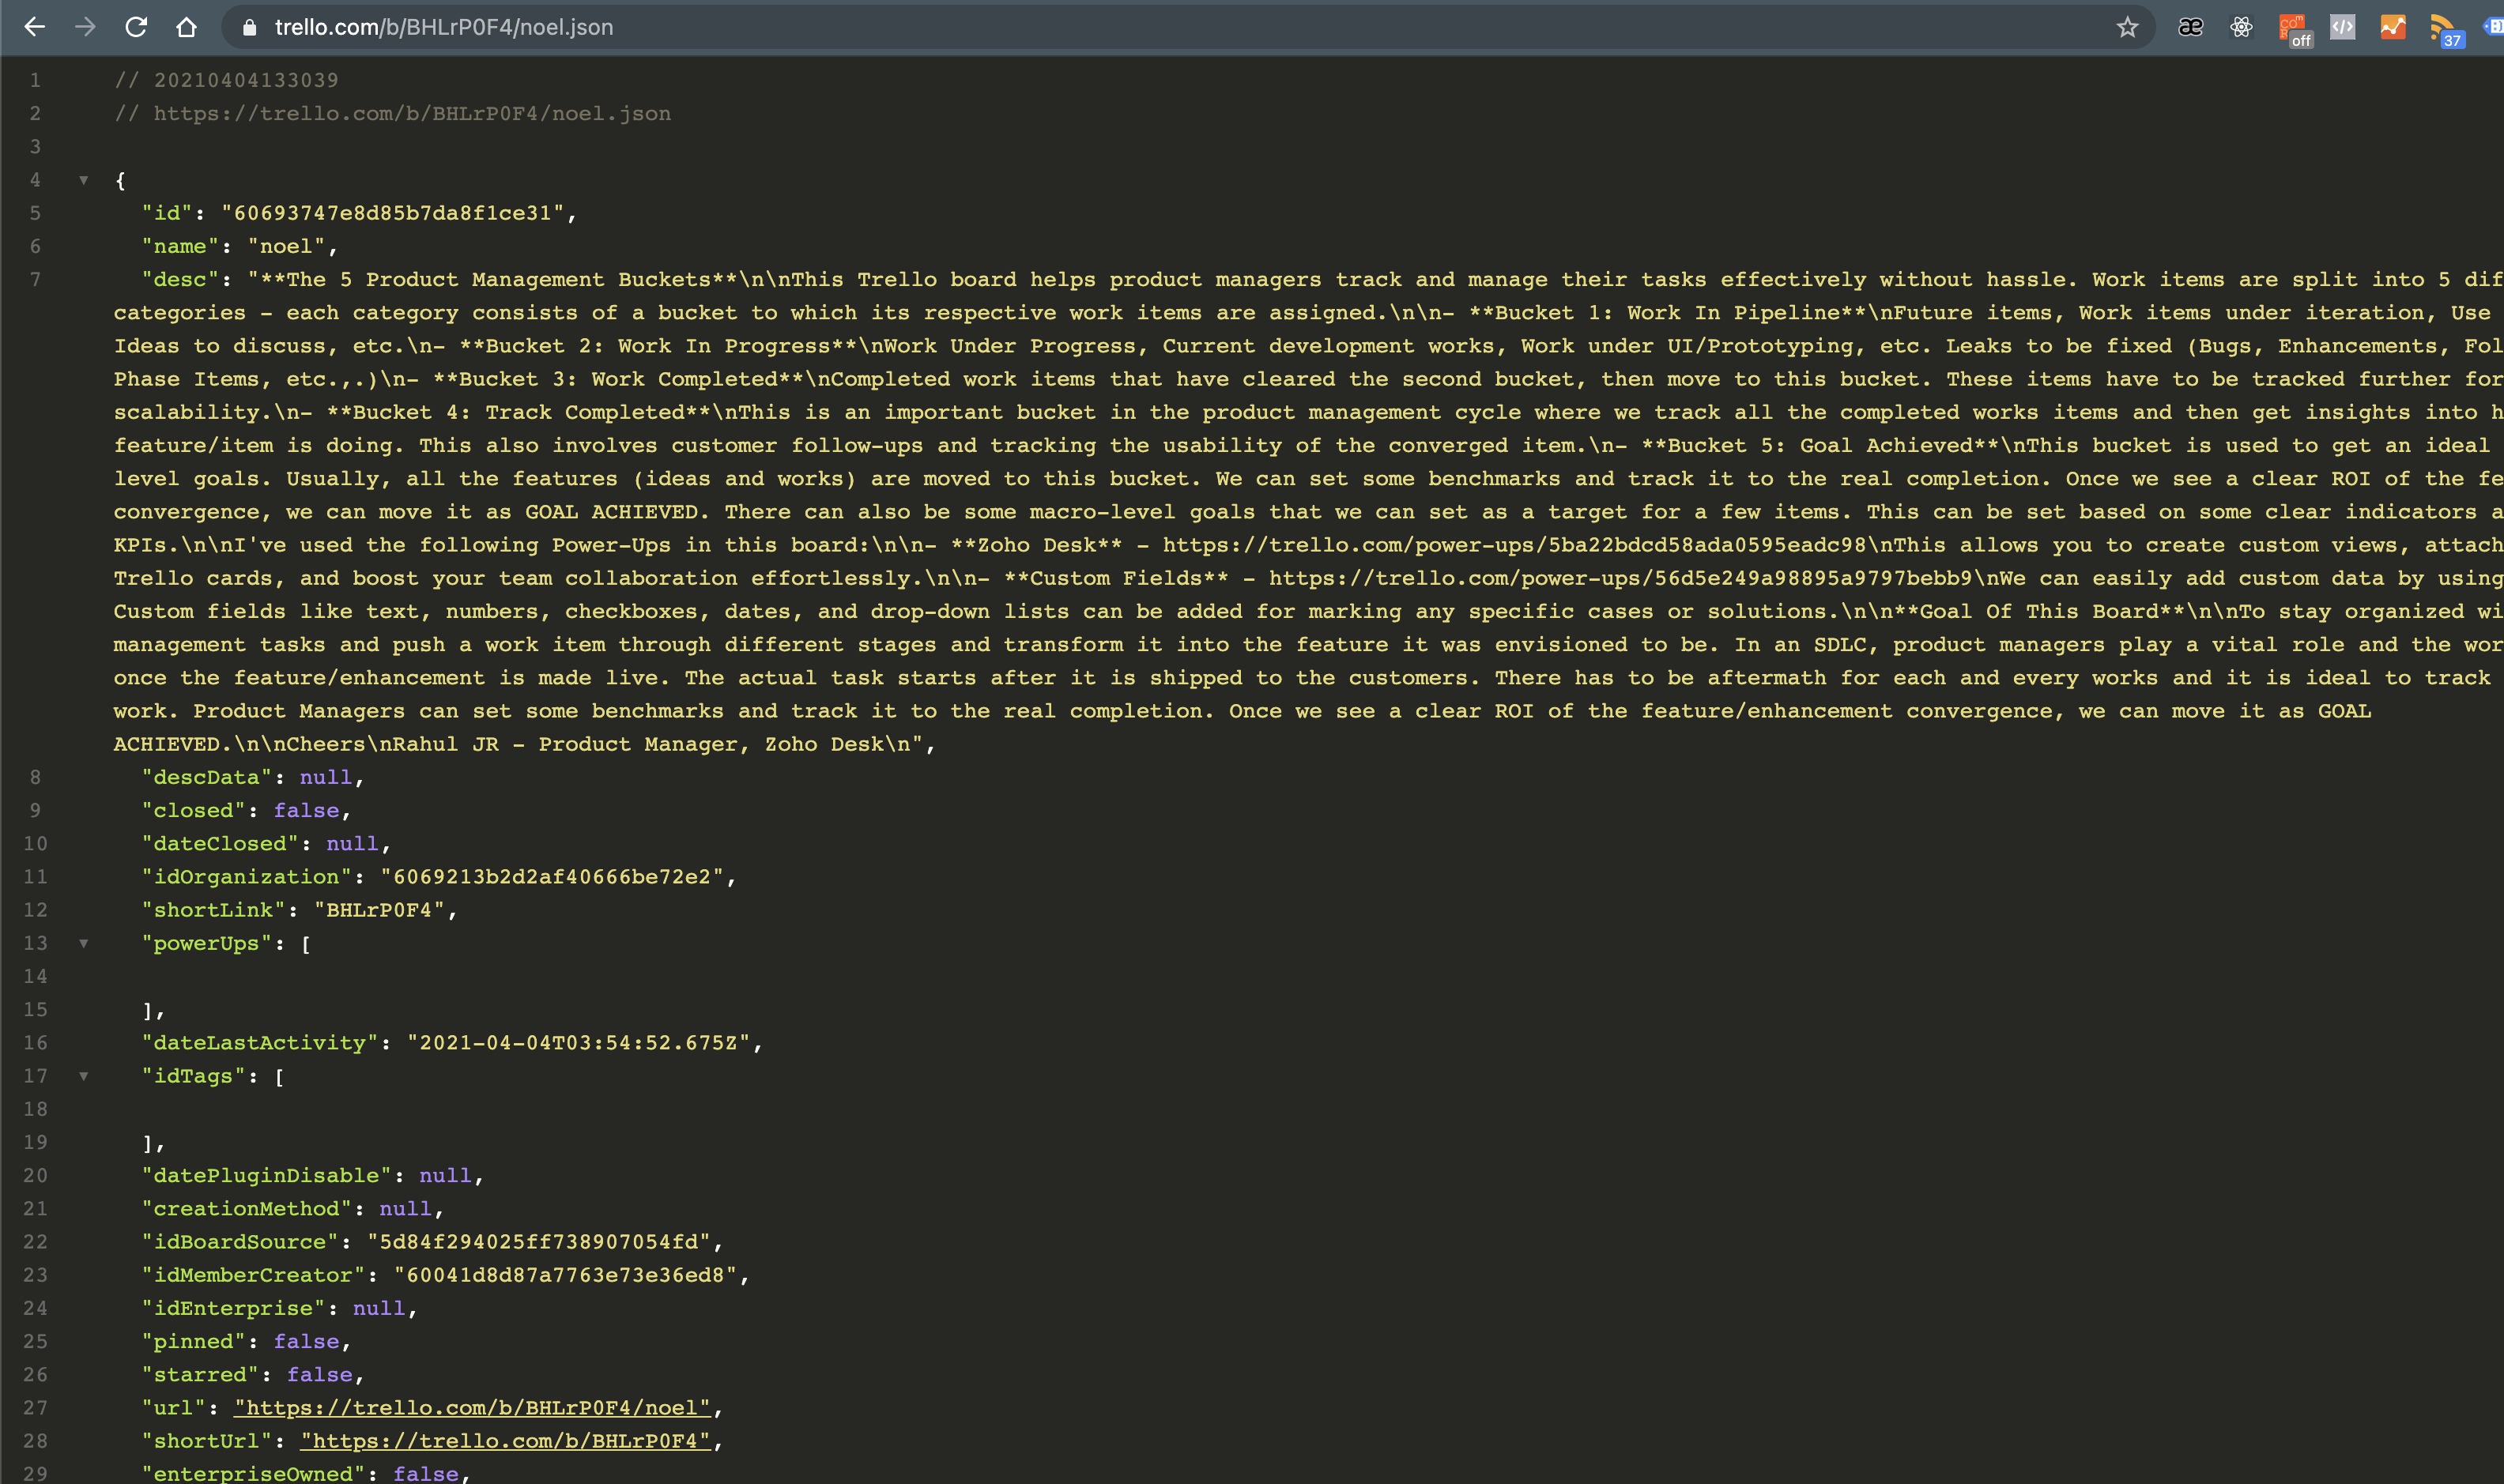
그 다음으로 해야할 것은 현재 접속되어있는 Trello의 URL을 보시면 다음과 같은 형식일 것입니다.
noel
The 5 Product Management Buckets This Trello board helps product managers track and manage their tasks effectively without hassle. Work items are split into 5 different categories - each category ...
trello.com
이 URL에 '.json' 을 붙여서 보시면 json 데이터가 다음과 같이 출력됩니다.
코드 작성하기
우선 site 정보를 출력하기 위한 site.js 파일을 만들어줍니다.
module.exports = {
    host: new URL(process.env.URL || 'https://localhost').host,
    trello_board: process.env.TRELLO_BOARD_URL || 'https://trello.com/b/BHLrP0F4/noel',
    tistory: process.env.TISTORY_ADDRESS,
    github: process.env.GITHUB_ADDRESS,
};
그 다음으로 node-fetch라는 종속성을 설치합니다.
npm install node-fetch
필요한 종속성 리스트입니다.
"@11ty/eleventy": "^0.11.0",
"clean-css": "^4.2.3",
"dotenv": "^8.2.0",
"markdown-it": "^10.0.0",
"netlify-plugin-minify-html": "^0.2.2",
"node-fetch": "^2.6.0"
eleventy는 적절히 static 페이지를 만들어 빌드해줍니다. parcel이나 webpack보다 가벼운 것 같습니다.
clean-css는 빌드할 때 css를 minify해주기 위한 목적입니다.
dotenv 는 .env 파일을 생성하여 설정파일을 로컬에서 관리하기 위함입니다.
markdown-it 은 밑에서 보실 이미지를 마크다운 형식으로 작성하기 위함입니다.
netlify 플러그인은 netlify 빌드 시에 html을 minify해줍니다.
node-fetch는 json을 가져와서 fetch url로 다루기 위해서 사용합니다.
# trello 설정
TRELLO_LIST_ID='60693747e8d85b7da8f1ce32'
TRELLO_BOARD_URL='https://trello.com/b/BHLrP0F4/noel'

BRANCH='stage'

# secret information
TRELLO_TOKEN=''
TRELLO_KEY=''
.env 파일을 생성해서 위와 같이 설정합니다.
TRELLO_LIST_ID와 TRELLO_BOARD_URL을 작성합니다.
TRELLO_LIST_ID는 위에서 보셨던 json 파일에서 "list"로 검색하시면 나오게 됩니다.
TRELLO_BOARD_URL는 말그대로 TRELLO 현재 URL이라 보시면 됩니다.
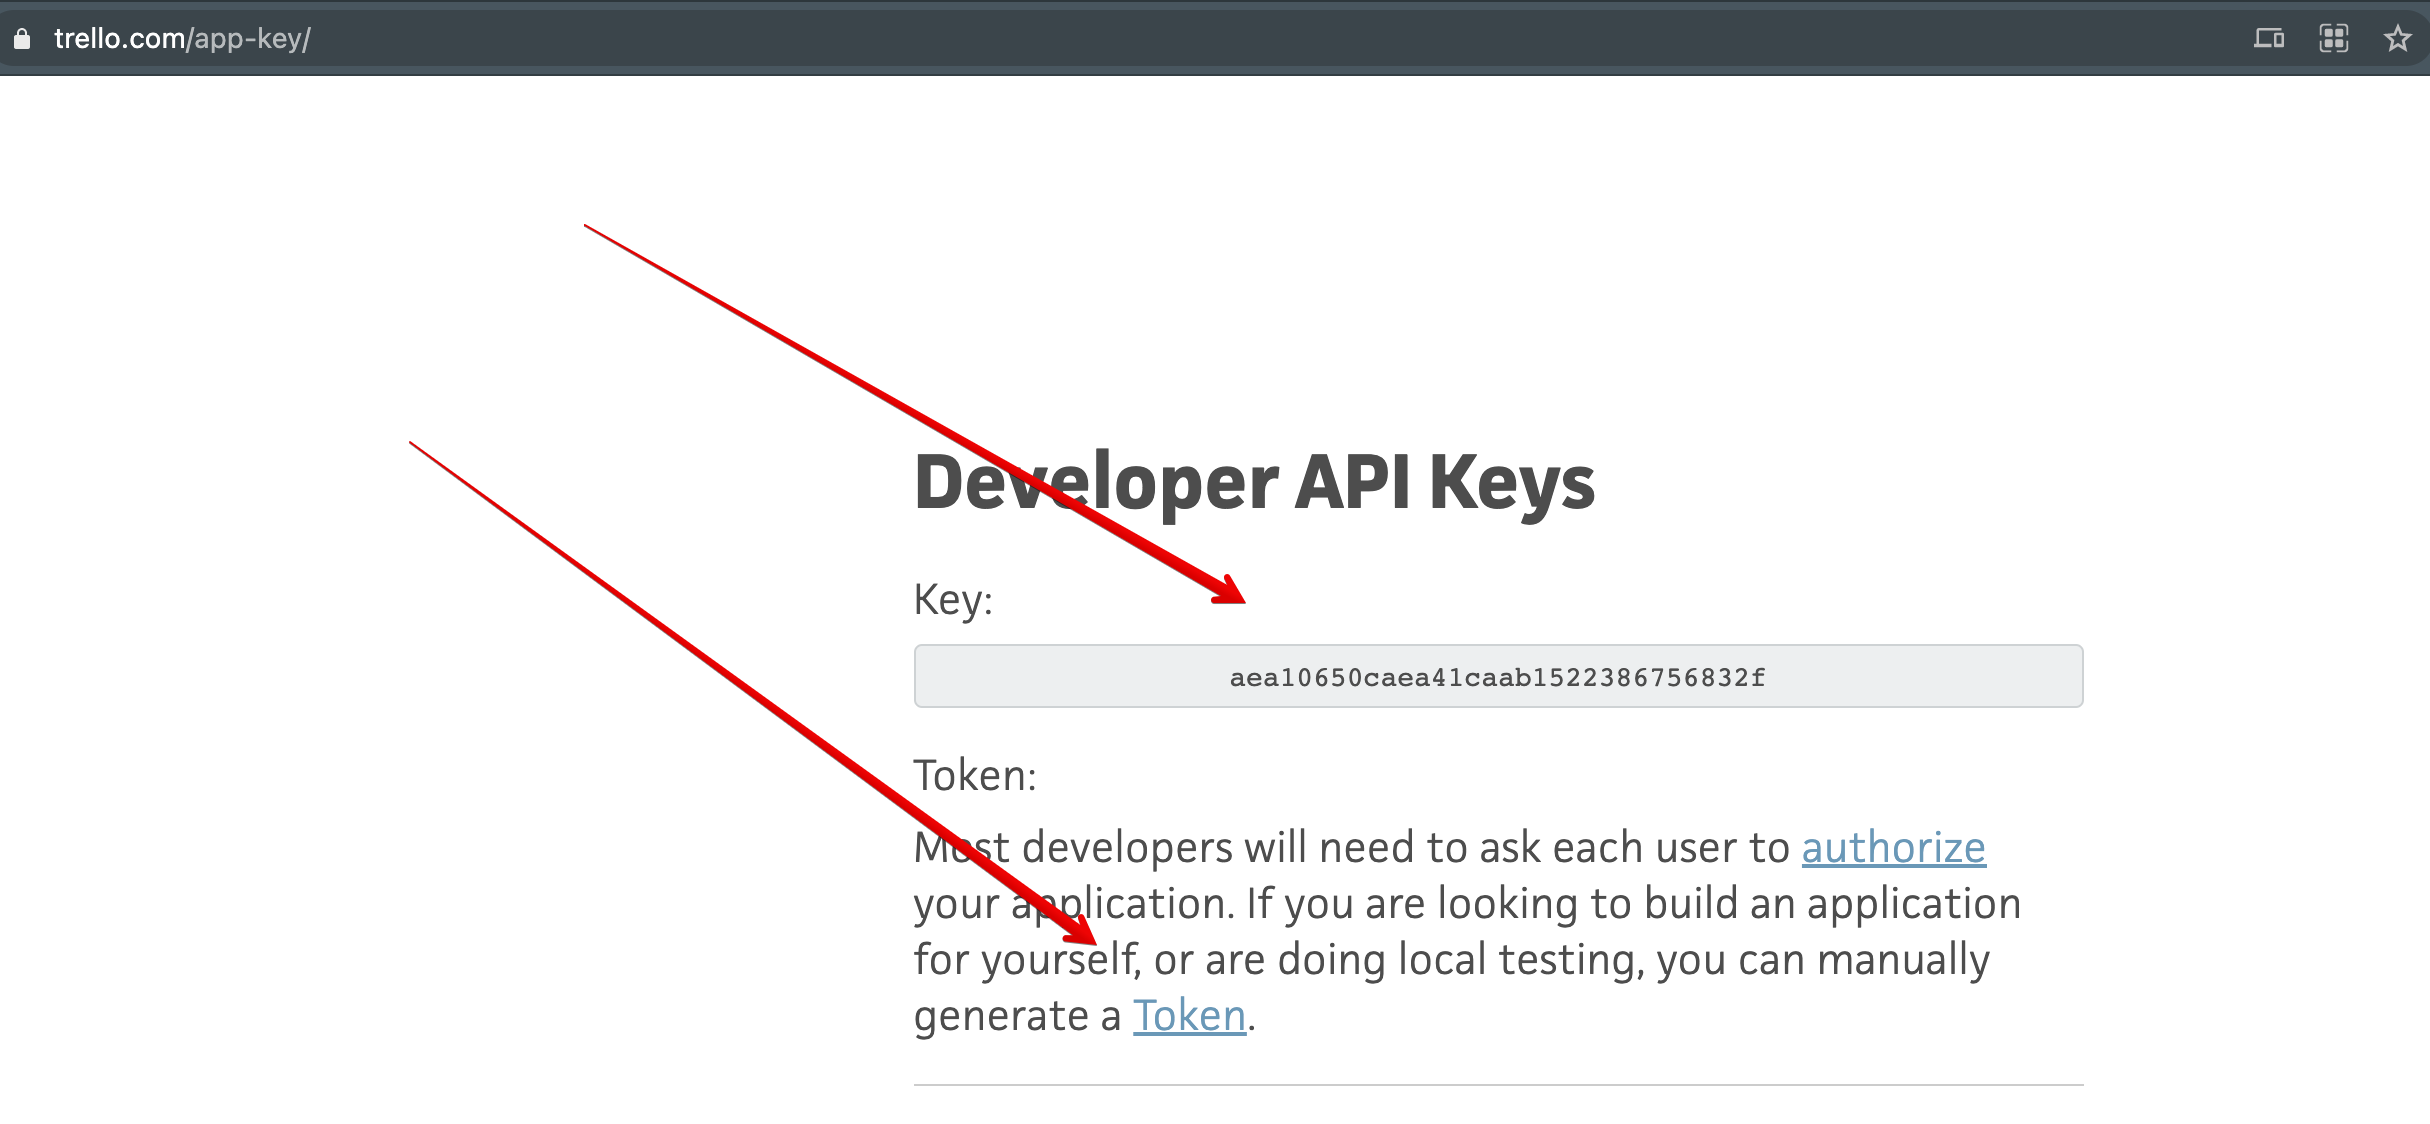
TRELLO_TOKEN=''
TRELLO_KEY=''위 부분을 작성하기 위해서 TRELLO DEVELOPER를 방문하여 토큰과 키를 생성해주세요.
키와 토큰을 입력하셨다면 이어서 코드를 작성합니다.
trello.js를 만들어서 다음과 같이 작성해주세요.
const fetch = require('node-fetch'); require('dotenv').config(); const { TRELLO_BOARD_URL='https://trello.com/b/BHLrP0F4/noel', TRELLO_LIST_ID='60693747e8d85b7da8f1ce32', BRANCH } = process.env; module.exports = () => { return fetch(TRELLO_BOARD_URL + '.json') .then(res => res.json()) .then(json => { let contentCards = json.cards.filter(card => { return card.idList == TRELLO_LIST_ID && !card.closed; }); let contextCards = contentCards.filter(card => { return card.labels.filter(label => ( label.name.toLowerCase() == 'live' || label.name.toLowerCase() == BRANCH )).length; }); contextCards.forEach(card => { if(card.attachments.length) { card.name = ""; card.desc = card.desc + `\n`; } }) return contextCards; }); };trello 카드를 가져오는데 closed 되지 않은 카드들만 가져오고 live 또는 .env에서 작성한 'stage'만 가져오게 됩니다.
추가적으로 이미지들도 마크다운형식으로 작성할 수 있게 이미 종속성을 설치해 두었기에 위와 같이 작성할 수 있는 것입니다.
뷰 만들기
<!DOCTYPE html>
<html lang="en">
<head>
  <meta charset="UTF-8">
  <meta name="viewport" content="width=device-width, initial-scale=1.0">
  <title>noel House 🥇</title>
  {% set css %}
    {% include "style.css" %}
  {% endset %}
  <style>
    {{ css | cssmin | safe }}
  </style>
</head>
<body>
  <div class="contents">
    <header>
      <h1>trello-connecting</h1>
      <p>
        <a href="{{ site.trello_board }}">트렐로 보드</a>에 연결되어 <a href="https://netlify.com{{ site.utm }}">Netlify</a>에 자동으로 배포 됩니다.
      </p>
    </header>
  </div>
  <main>
    {% for card in trello %}
    <section>
      <h2>{{ card.name }}</h2>
      <div>
      {% markdown %}
        {{- card.desc | safe }}
      {% endmarkdown %}
      </div>
    </section>
    {% endfor %}
  </main>
  <footer>
    <p>티스토리 : <a href="{{ site.tistory }}">tistory</a></p>
    <p>깃허브 : <a href="{{ site.github }}">github</a></p>
  </footer>
</body>
</html>
현재 eleventy를 통하여 템플릿 엔진을 사용할 수 있으므로 템플릿 엔진 중에 nunjucks를 사용합니다.
Nunjucks
You've been looking for a more sophisticated templating engine for JavaScript. Here it is. Rich Powerful language with block inheritance, autoescaping, macros, asynchronous control, and more. Heavily inspired by jinja2 Fast & Lean High-performant. Small 8K
mozilla.github.io
다 만드셨으면 eleventy 빌드를 위해서 .eleventy.js 설정파일을 만들어주세요.
module.exports = function(eleventyConfig) {

  const markdownIt = require('markdown-it');
  const md = new markdownIt({
    html: true
  });
  eleventyConfig.addPairedShortcode('markdown', (content) => {
    return md.render(content);
  });

  const CleanCSS = require('clean-css');
  eleventyConfig.addFilter('cssmin', function(code) {
    return new CleanCSS({}).minify(code).styles;
  });

  return  {
    dir: {
      input: "src",
      output: "dist"
    }
  };
};
마크다운 빌드를 위해서 mardown-it를 사용하고 마크다운 렌더링을 하도록 설정해줍니다.
cleanCss를 통해서 css를 미니파이 한 다음에 nunjucks에서 작성한 styles.에 들어가도록 해줍니다.
빌드 생성은 dist로 해주도록 해줍니다.
이렇게 까지 하셨으면 이제 완성입니다. yarn 또는 npm 실행하여 확인해보세요.
develop버전 : npm eleventy --serve
빌드 : npm eleventy
네틀리파이에 자동배포하는 hook 생성
addBoardHook.js를 생성해줍니다.
require('dotenv').config();
const {
  TRELLO_LIST_ID,
  TRELLO_TOKEN,
  TRELLO_KEY,
  npm_config_url } = process.env;

const fetch = require('node-fetch');

const body = {
  description: "Netlify build hook",
  callbackURL: npm_config_url,
  idModel: TRELLO_LIST_ID
}

fetch(`https://api.trello.com/1/tokens/${TRELLO_TOKEN}/webhooks/?key=${TRELLO_KEY}`, {
    method: 'post',
    body: JSON.stringify(body),
    headers: { 'Content-Type': 'application/json' },
  })
  .then(res => res.json())
  .then(json => console.log(json));
env 파일에서 받아오는 변수를 통해서
node-fetch로 api를 통해서 받아온 데이터를 자동으로 배포해줍니다.
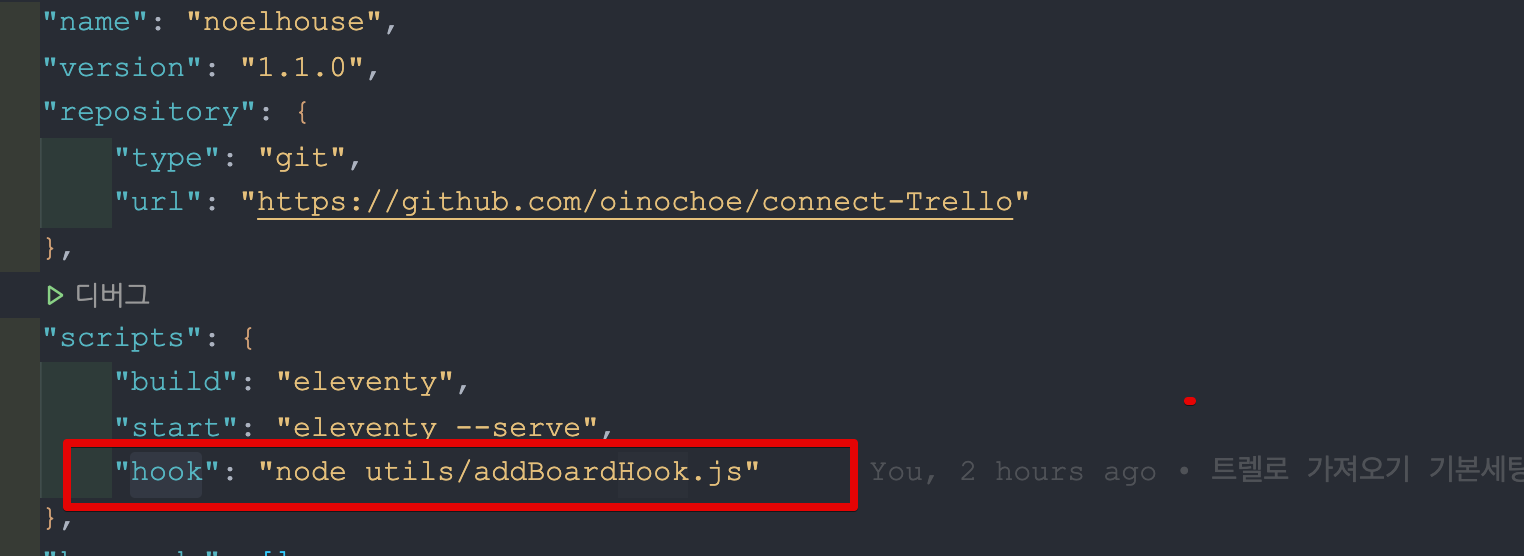
package.json 파일에 다음과 같이 입력해줍니다. 저는 utils폴더를 따로 만들어서 생성해주었습니다.
마지막으로 netlify.toml 파일을 생성해줍니다. toml파일에 작성한 대로 github actions과 마찬가지로 자동으로 netlify 배포를 하기 위한 수행을 합니다.
[build]
  command = "npm run build"
  publish = "dist"

[[plugins]]
  package = "netlify-plugin-minify-html"

  [plugins.inputs]
    contexts = [
      'production'
    ]

  [plugins.inputs.minifierOptions]
    removeComments = true
    collapseInlineTagWhitespace = false
줄맞춤에 유의해서 작성해주세요.
모두 작성하셨으면 끝입니다.
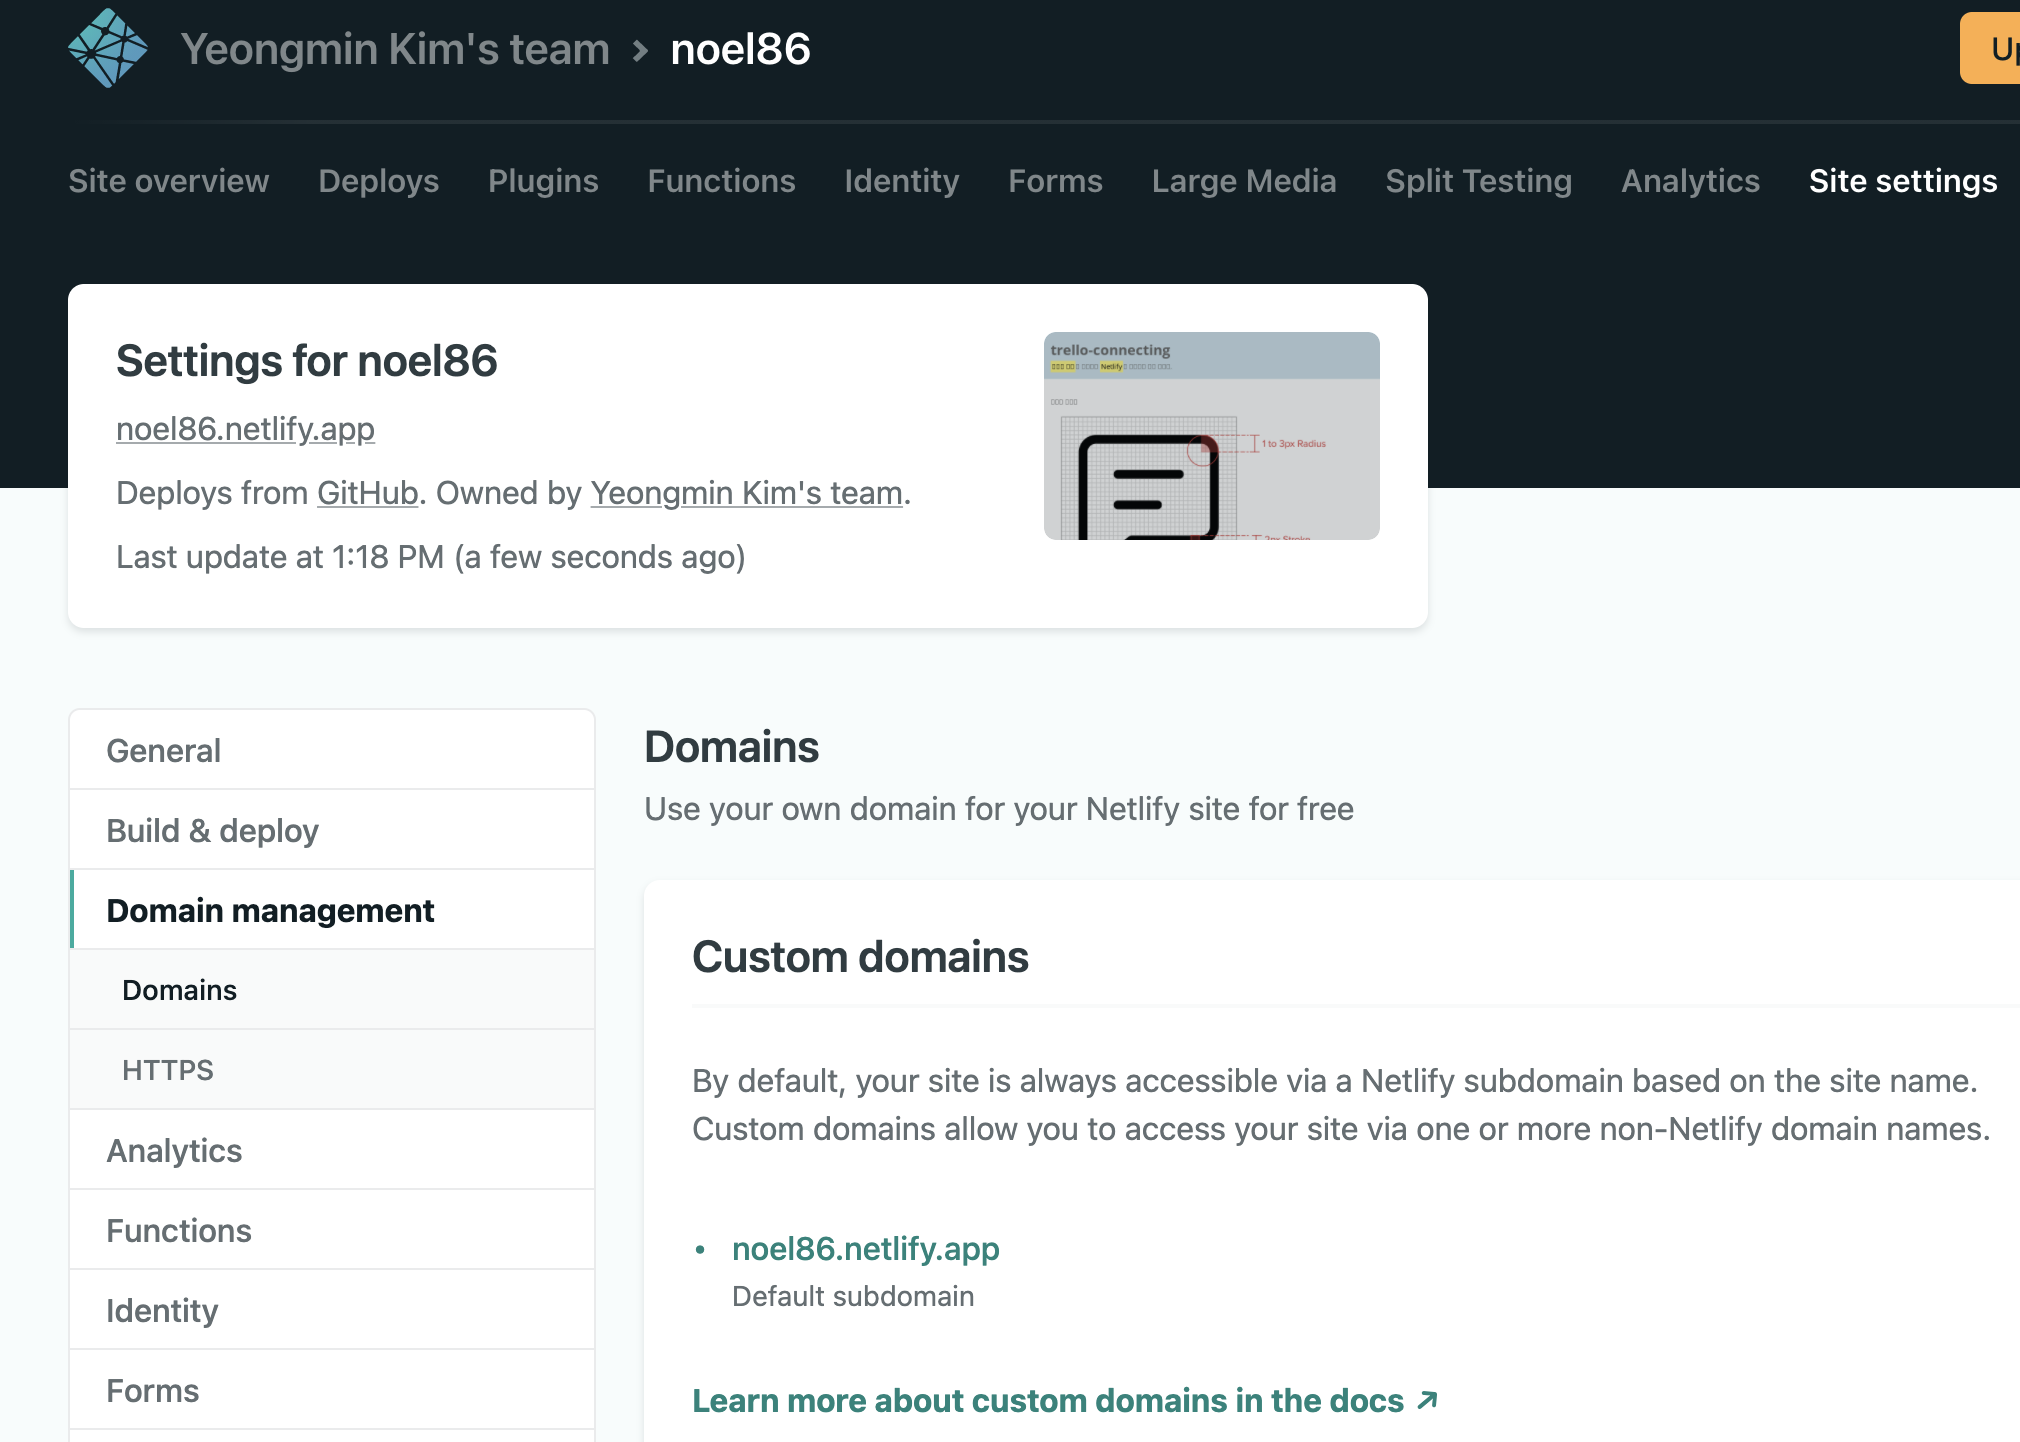
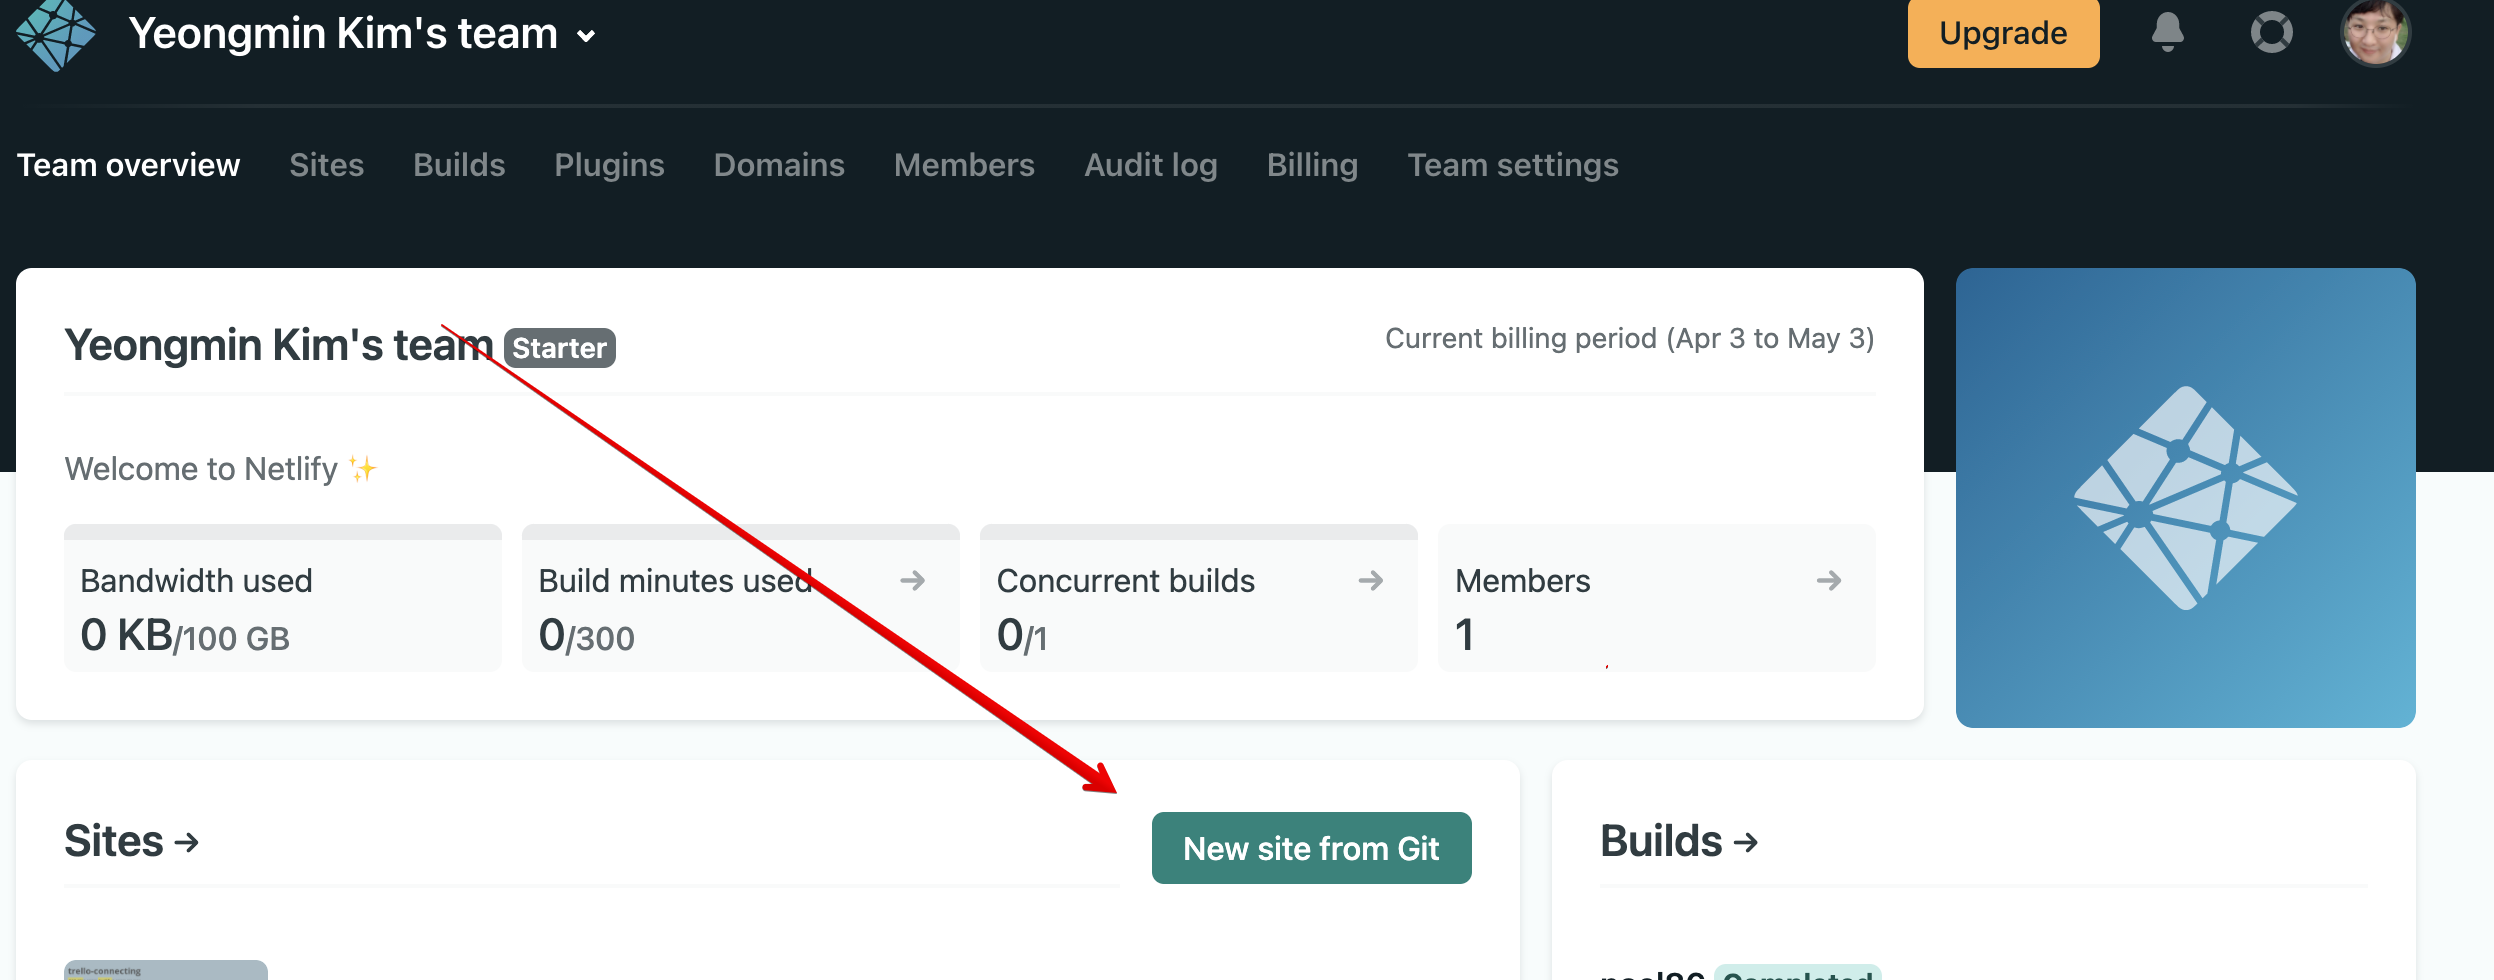
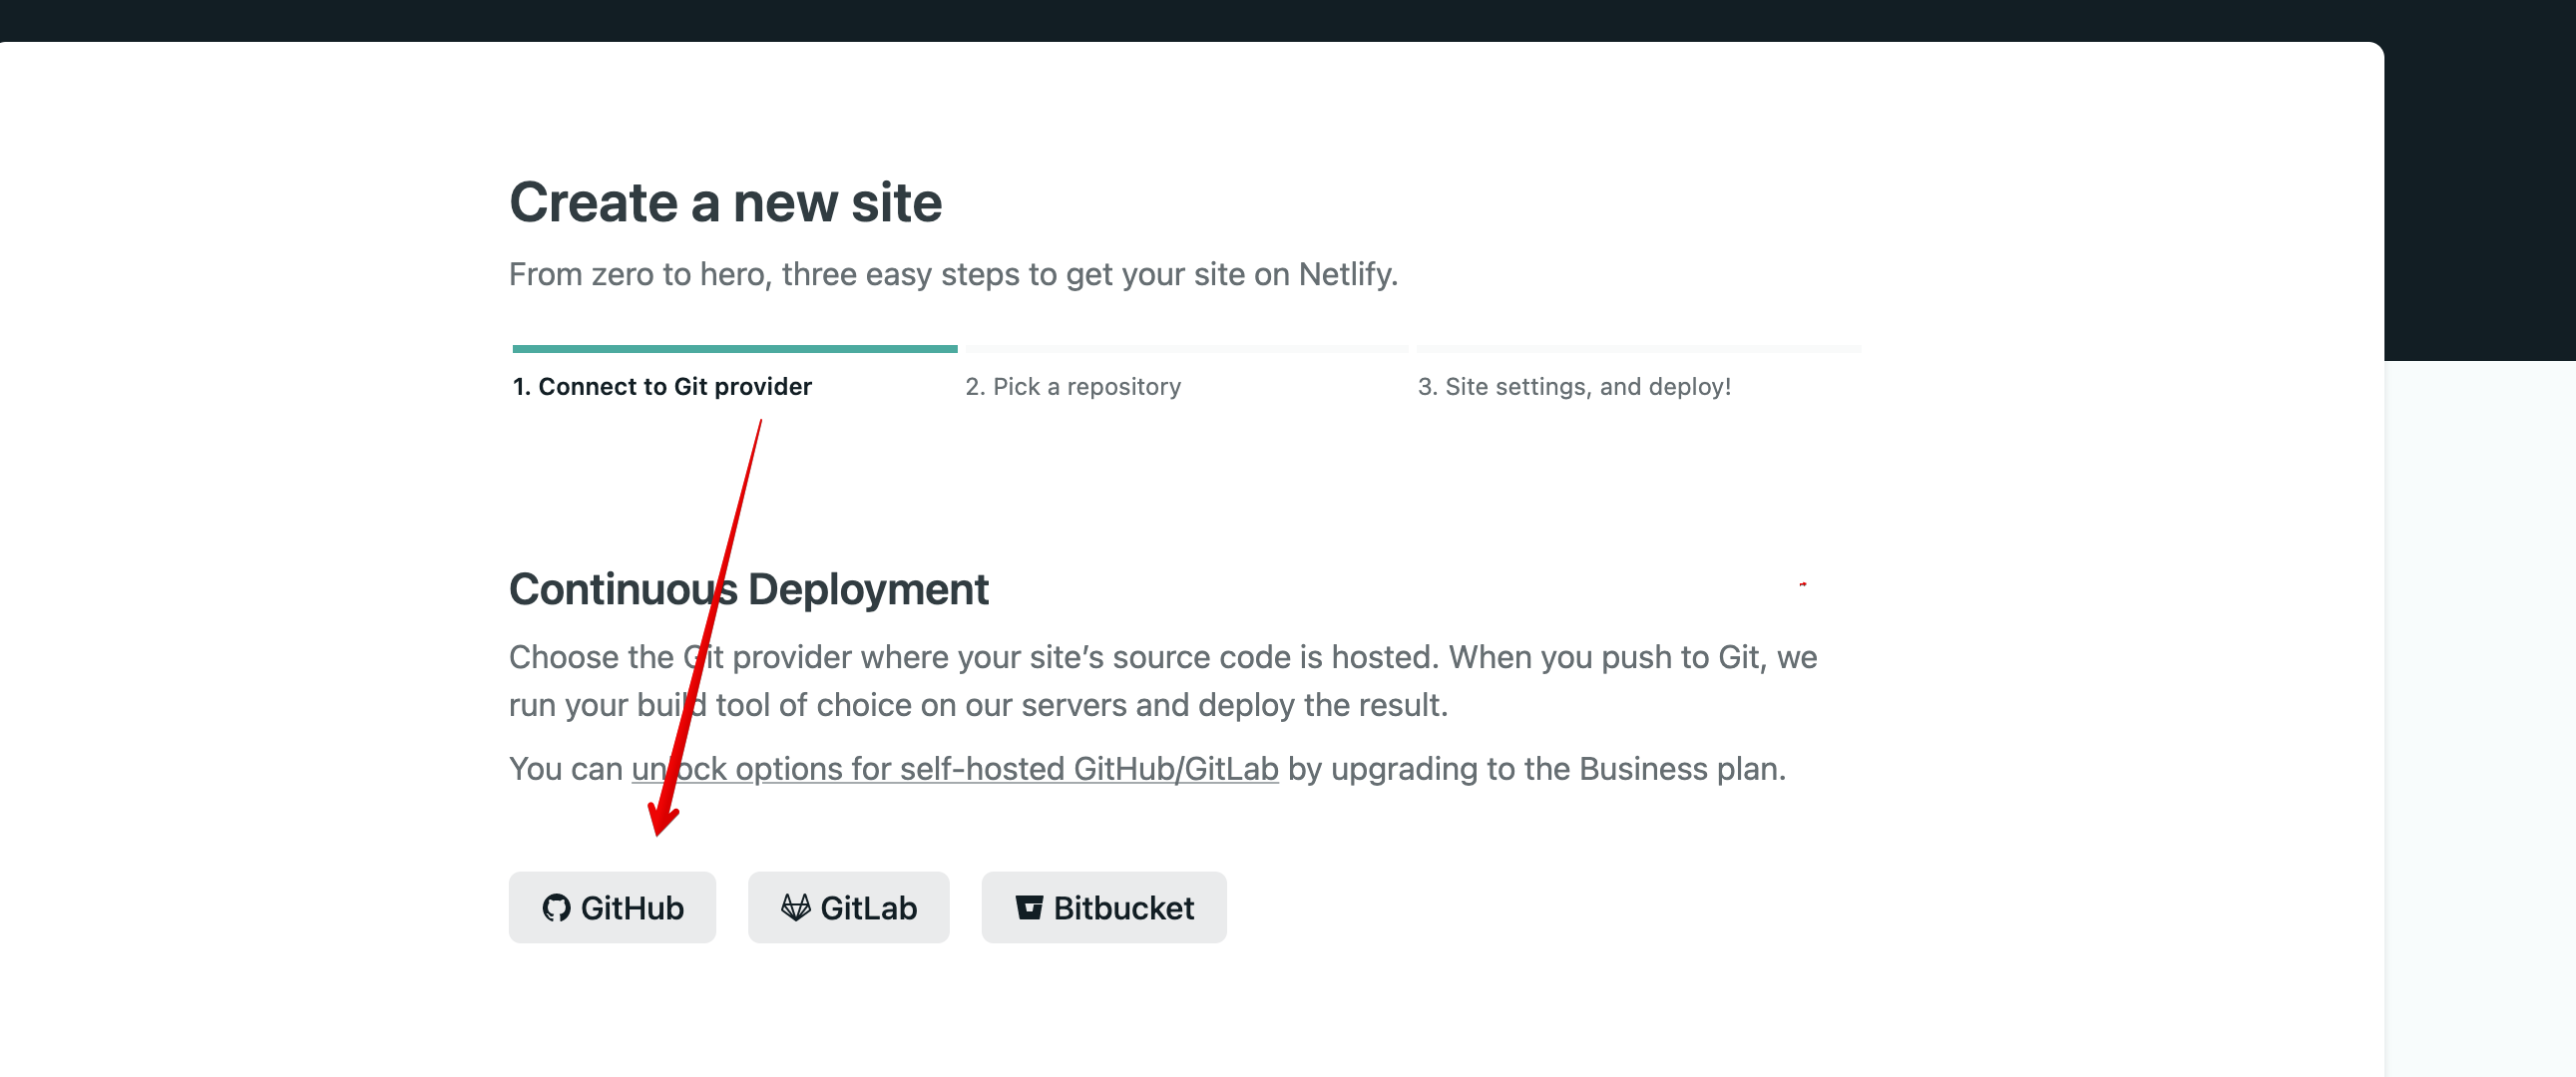
네틀리파이에 접속하여 깃허브 계정에 배포된 소스를 연결해주시고 자동 배포를 즐기세요~
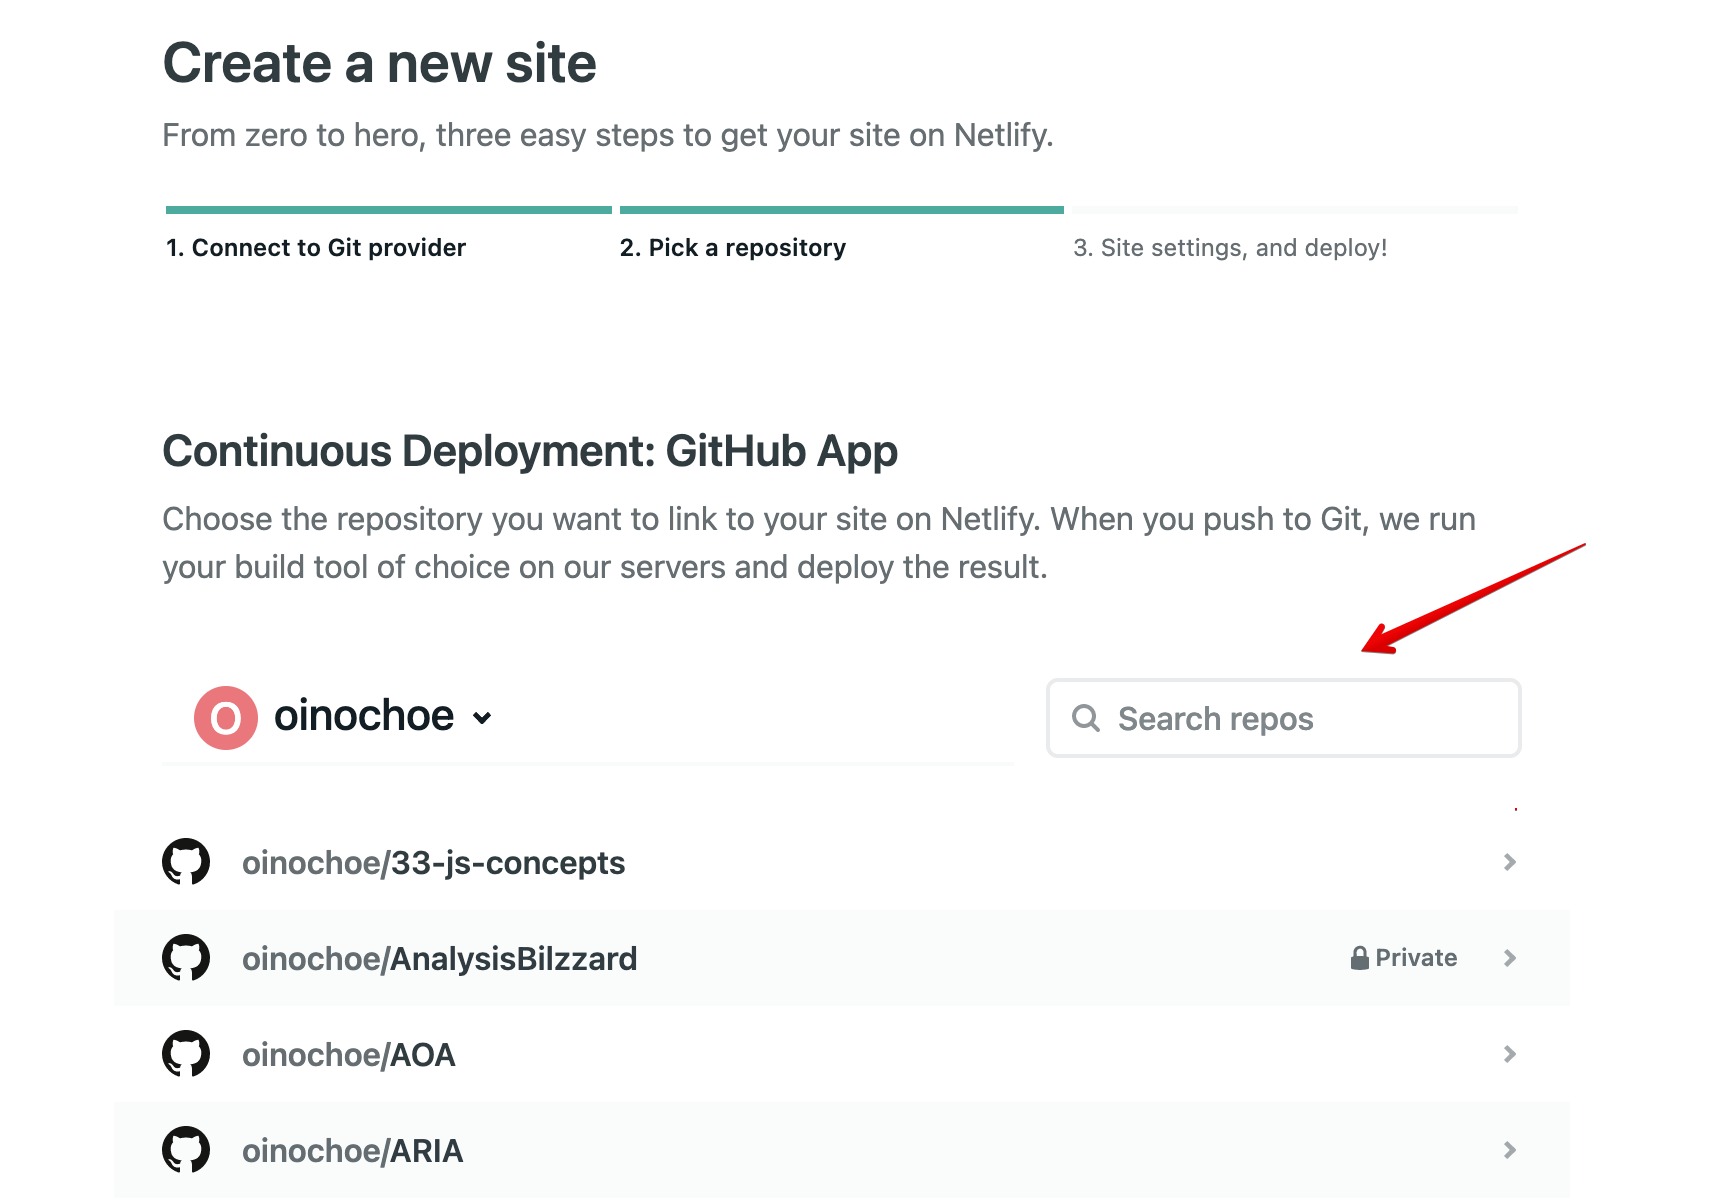
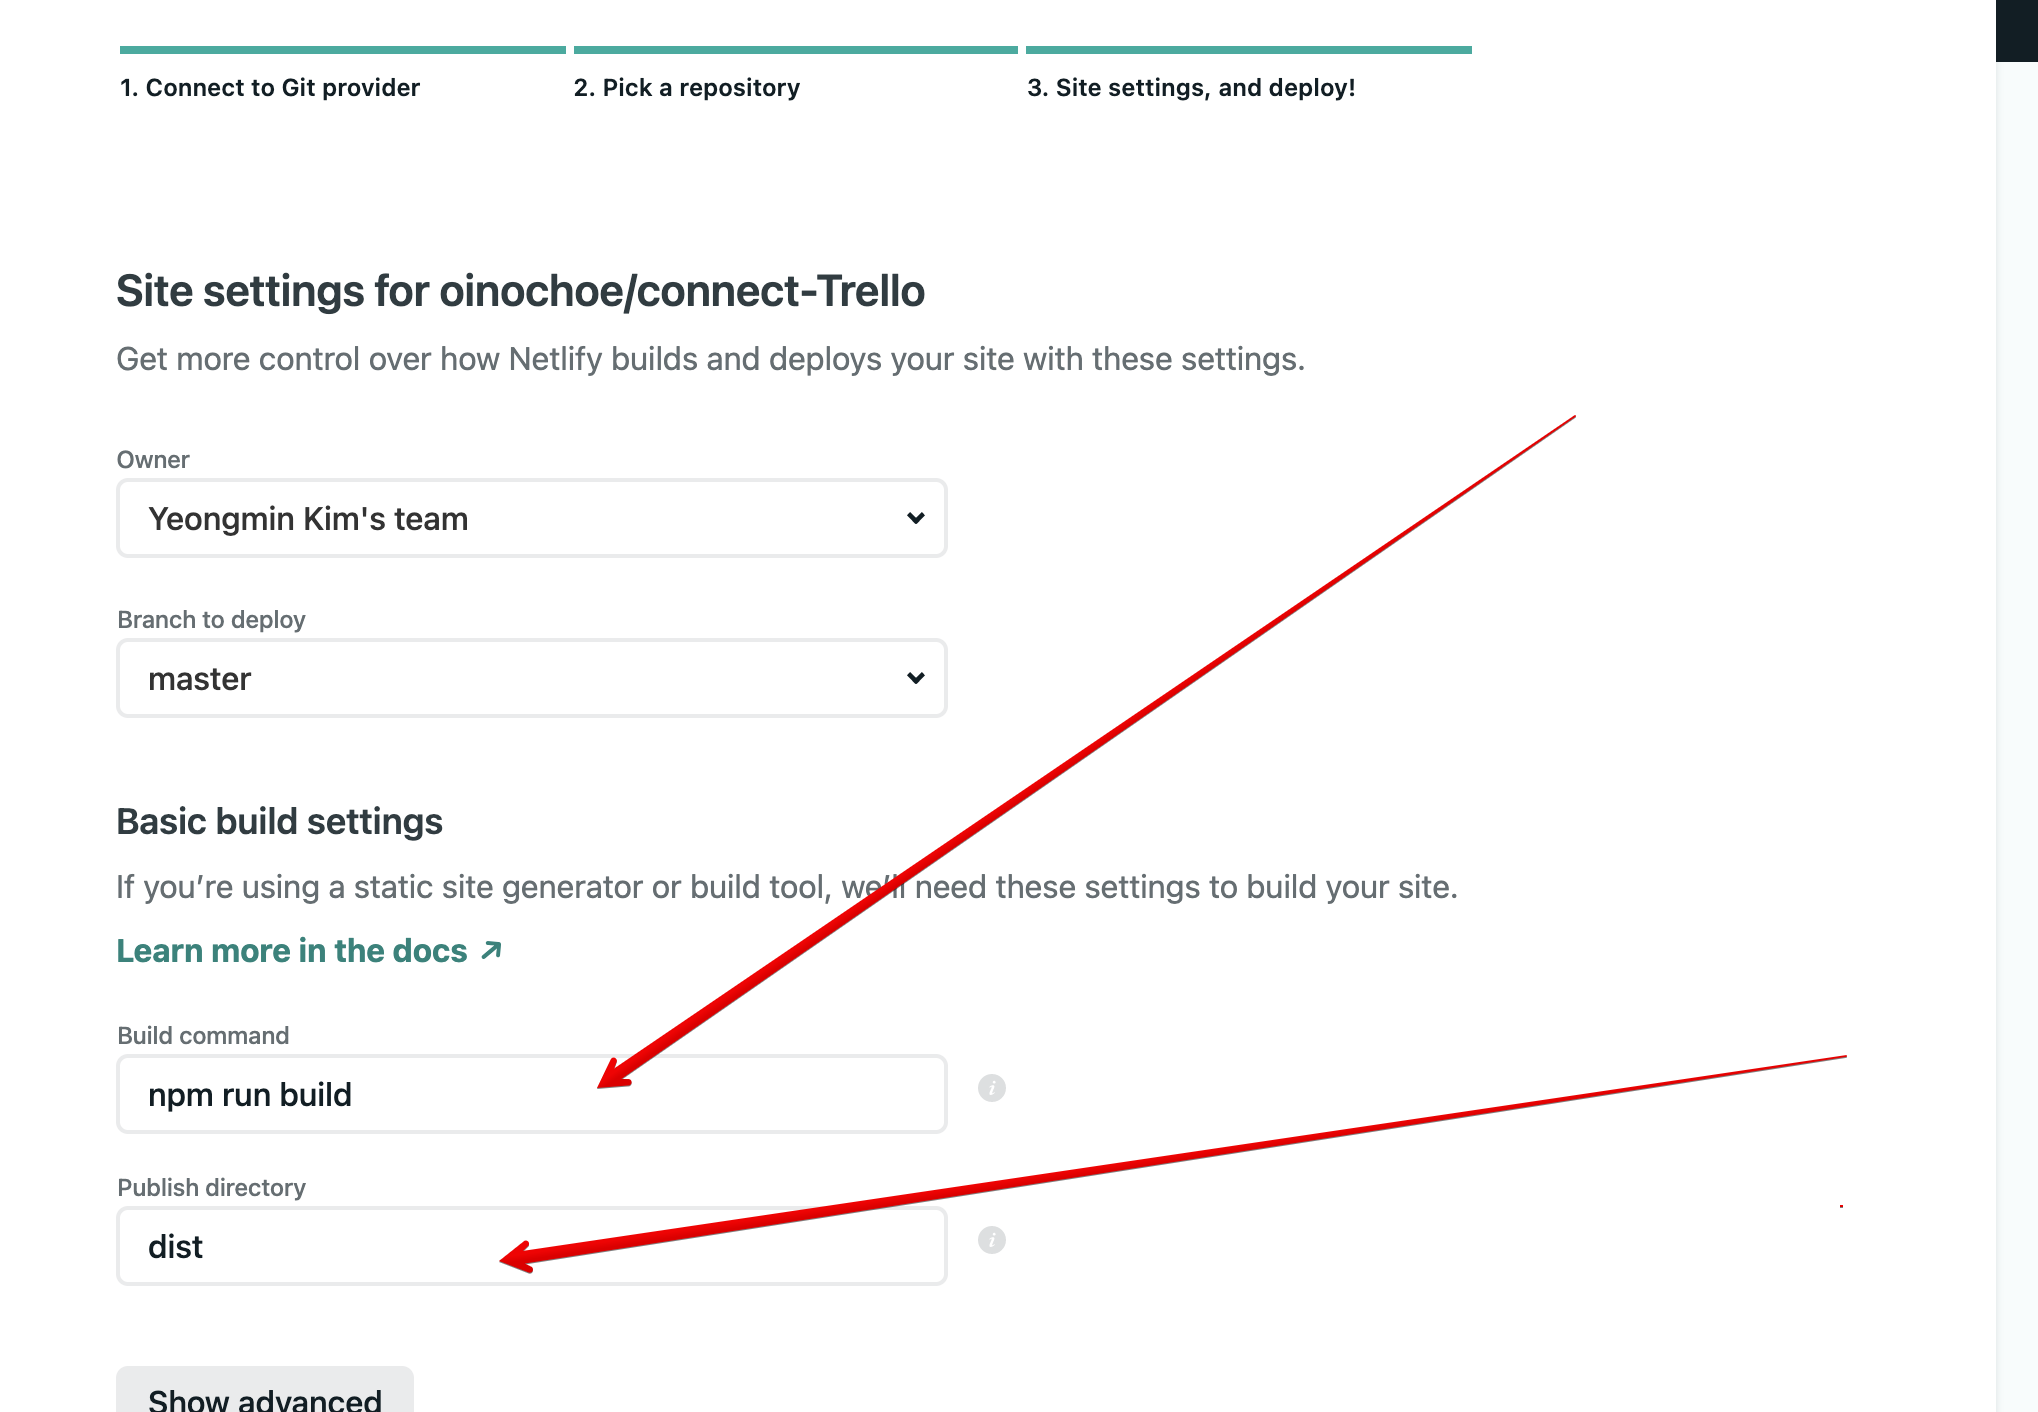
보통 자동으로 입력되기는 하나 커스텀 하여 작성하셔도 됩니다.
이제 Deploy Site를 하시면 자동으로 깃헙 소스를 기반으로 배포되는 Netlify 정적 컨텐츠 사이트를 보실 수 있습니다.
noel House 🥇
trello-connecting 트렐로 보드에 연결되어 Netlify에 자동으로 배포 됩니다.
noel86.netlify.app
github.com/oinochoe/connect-Trello
oinochoe/connect-Trello
Contribute to oinochoe/connect-Trello development by creating an account on GitHub.
github.com
감사합니다.
출처 : css-tricks.com/using-trello-as-a-super-simple-cms/
'UI,UX,접근성,기본개념 등' 카테고리의 다른 글
웹 UX를 구성할 때 애니메이션 효과는 어떻게 사용하는 것이 좋은가? (0) 2021.07.04 스크롤을 더 할 수 있다? 스크롤 영역에 관한 인디케이터 (0) 2021.06.28 웹사이트 성능측정하기 (0) 2021.02.21 프론트엔드에 영감을 주는 8가지 아이디어들 (0) 2021.01.30 UI 디자인 실수 10가지 (2) 2021.01.17