-
Docker에서 ElasticSearch로 Full-Text 검색하기(4)SERVER DEVELOPMENT/Docker 2023. 3. 5. 19:39
Docker에서 ElasticSearch로 Full-Text 검색하기(1)
Docker에서 ElasticSearch로 Full-Text 검색하기(2)
Docker에서 ElasticSearch로 Full-Text 검색하기(3)
지난 시간에 이어서, 마지막으로 elasticSearch로 작성 된 App을 배포하고 사용해보도록 하겠습니다.
App을 배포하기 전에 express로 클라이언트 route를 구성해서 browser에서 검색 결과를 바로 확인할 수 있도록 하고, 불필요한 코드를 정리 해보겠습니다.
express를 설치해주세요.
npm i expressconst express = require("express"); const app = express(); const port = process.env.PORT || 3000; app.listen(port, () => { console.log("server connected"); }); app.get("/search", async (req, res) => { const query = req.query.q; try { const results = await searchQuery(query); res.json(results); } catch (error) { console.error(error); res.status(500).json({ message: "Internal sever error" }); } }); const { Client } = require("elasticsearch"); const client = new Client({ host: "http://host.docker.internal:9200", log: "trace", }); const searchQuery = async function (query) { const { hits } = await client.search({ index: "indexing", body: { query: { fuzzy: { content: { value: query, fuzziness: "AUTO", }, }, }, }, }); return hits.hits ?? []; };index.js 파일의 상단에 express를 호출하고, 3000 포트로 띄우는 코드를 삽입했습니다.
route를 /search로 하여 /search?q=elk 와 같이 검색 했을 시에 searchQuery함수를 실행하여, 해당 fuzzy 검색 결과의 hits를 반환하도록 했습니다.
만약에 검색 결과가 없을 시에는 빈 배열이 나오도록 해두었습니다.
docker에 배포하기 위해서 host의 주소를 http://localhost:9200가 아닌 http://host.docker.internal:9200로 해줘야 합니다.
{
  "dependencies": {
    "elasticsearch": "^16.7.3",
    "express": "^4.18.2"
  },
  "scripts": {
    "start": "node index.js"
  }
}
최종 package.json파일 입니다.
scripts는 하단 npm start가 실행될 수 있도록 설정 해두었습니다.
Docker에 Node.js 앱을 배포하려면 먼저 앱의 Docker 이미지를 빌드해야 합니다.
이는 필요한 구성을 지정하는 앱 디렉터리의 루트에 Dockerfile을 생성하여 수행할 수 있습니다.
node app의 root에 "Dockerfile"을 생성하세요.
# Use the official Node.js image as the base image
FROM node:latest

# Set the working directory to /app
WORKDIR /app

# Copy the package.json and package-lock.json files to the container
COPY package*.json ./

# Install the app dependencies
RUN npm install

# Copy the rest of the app files to the container
COPY . .

# Set the environment variables for ElasticSearch
ENV ELASTICSEARCH_HOST=elasticsearch
ENV ELASTICSEARCH_PORT=9200

# Expose the port that the app will run on
EXPOSE 3000

# Start the app
CMD ["npm", "start"]
위와 같이 작성한 코드의 설명은 다음과 같습니다.
- 공식 Node.js 이미지를 기본 이미지로 지정
- 작업 디렉토리를 /app으로 지정
- package.json 및 package.lock.json 파일을 컨테이너에 복사
- 앱 종속성을 설치하는 명령어
- 나머지 앱 파일들도 컨테이너에 복사
- 호스트 및 포트에 대한 환경 변수 설정
- 포트 설정
- 노드 앱 실행
Docker 이미지를 빌드하려면 다음 명령어를 실행해보세요.
docker build -t docker-elkdocker-elk는 제가 생성한 node 앱의 폴더 명입니다.
docker-elk로 Docker image가 생성됩니다.
이제 배포를 해보시죠.
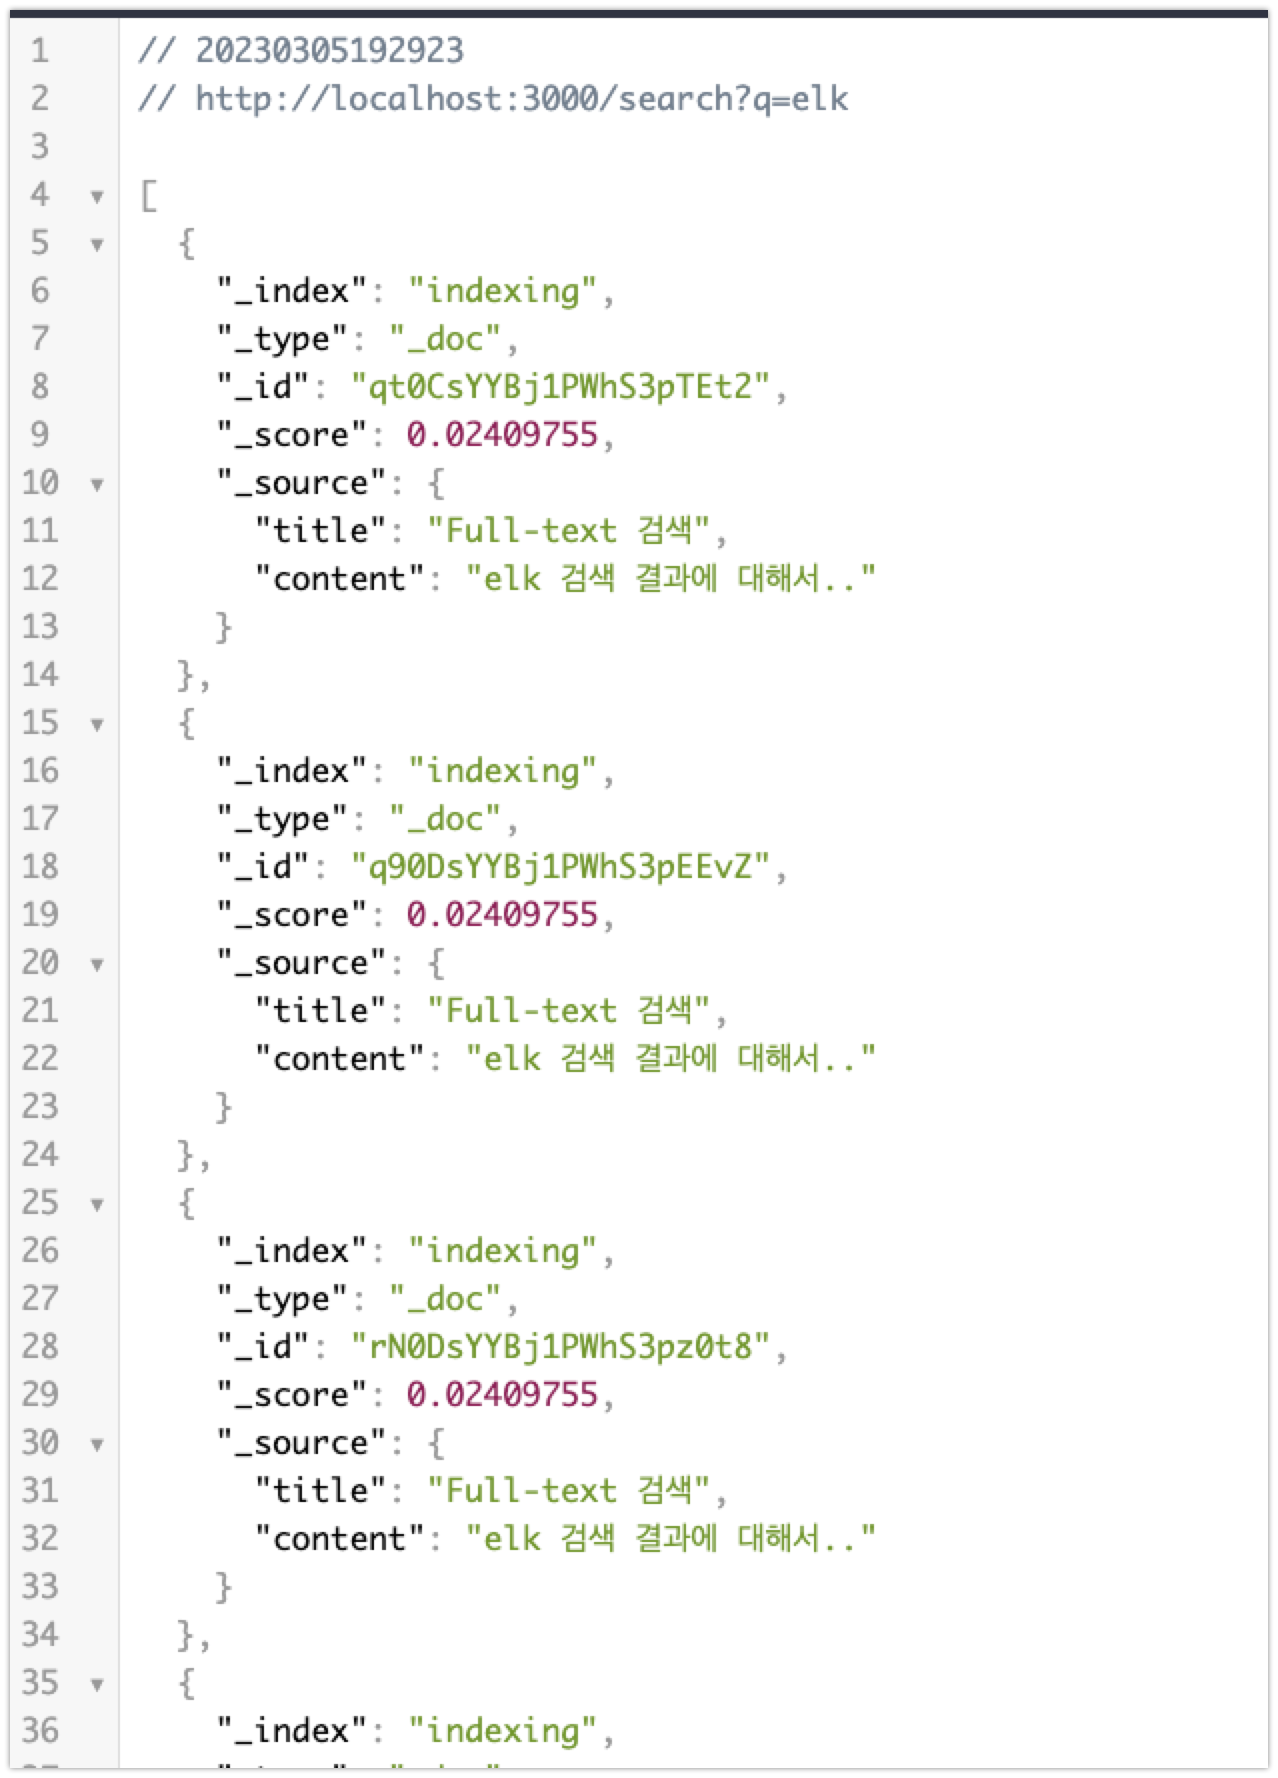
ocker run -p 3000:3000 --name docker-elk --link elasticsearch:elasticsearch docker-elk배포 하고 난 뒤에 localhost:3000/search?q=elk으로 접속하면 이전에 indexing으로 데이터 생성해두었던 것들이 검색되어 화면에 노출될 것입니다.
그 외에도 elasticsearch에서 데이터들을 확인할 수 있는 주소들이 있습니다.
http://localhost:9200/_cat/indices
http://localhost:9200/indexing(먼저 indexing으로 데이터를 생성해두었던 부분)
http://localhost:9200/_cluster/health?pretty=true(클러스터의 헬스체크)
http://localhost:9200/indexing/_doc/_search(sarch시에 데이터 결과)
결과 코드는 해당 링크에 첨부 되어있습니다.
https://github.com/oinochoe/docker_elk
GitHub - oinochoe/docker_elk: docker_elk_example
docker_elk_example. Contribute to oinochoe/docker_elk development by creating an account on GitHub.
github.com
여기까지 입니다. 더 궁금한 사항은 언제든지 댓글로 남겨주세요 : )
fin.
'SERVER DEVELOPMENT > Docker' 카테고리의 다른 글
Docker에서 ElasticSearch로 Full-Text 검색하기(3) (0) 2023.03.05 Docker에서 ElasticSearch로 Full-Text 검색하기(2) (0) 2023.03.05 Docker에서 ElasticSearch로 Full-Text 검색하기(1) (0) 2023.03.05